

A new style of label
yeah, this is not us!
Tuning up
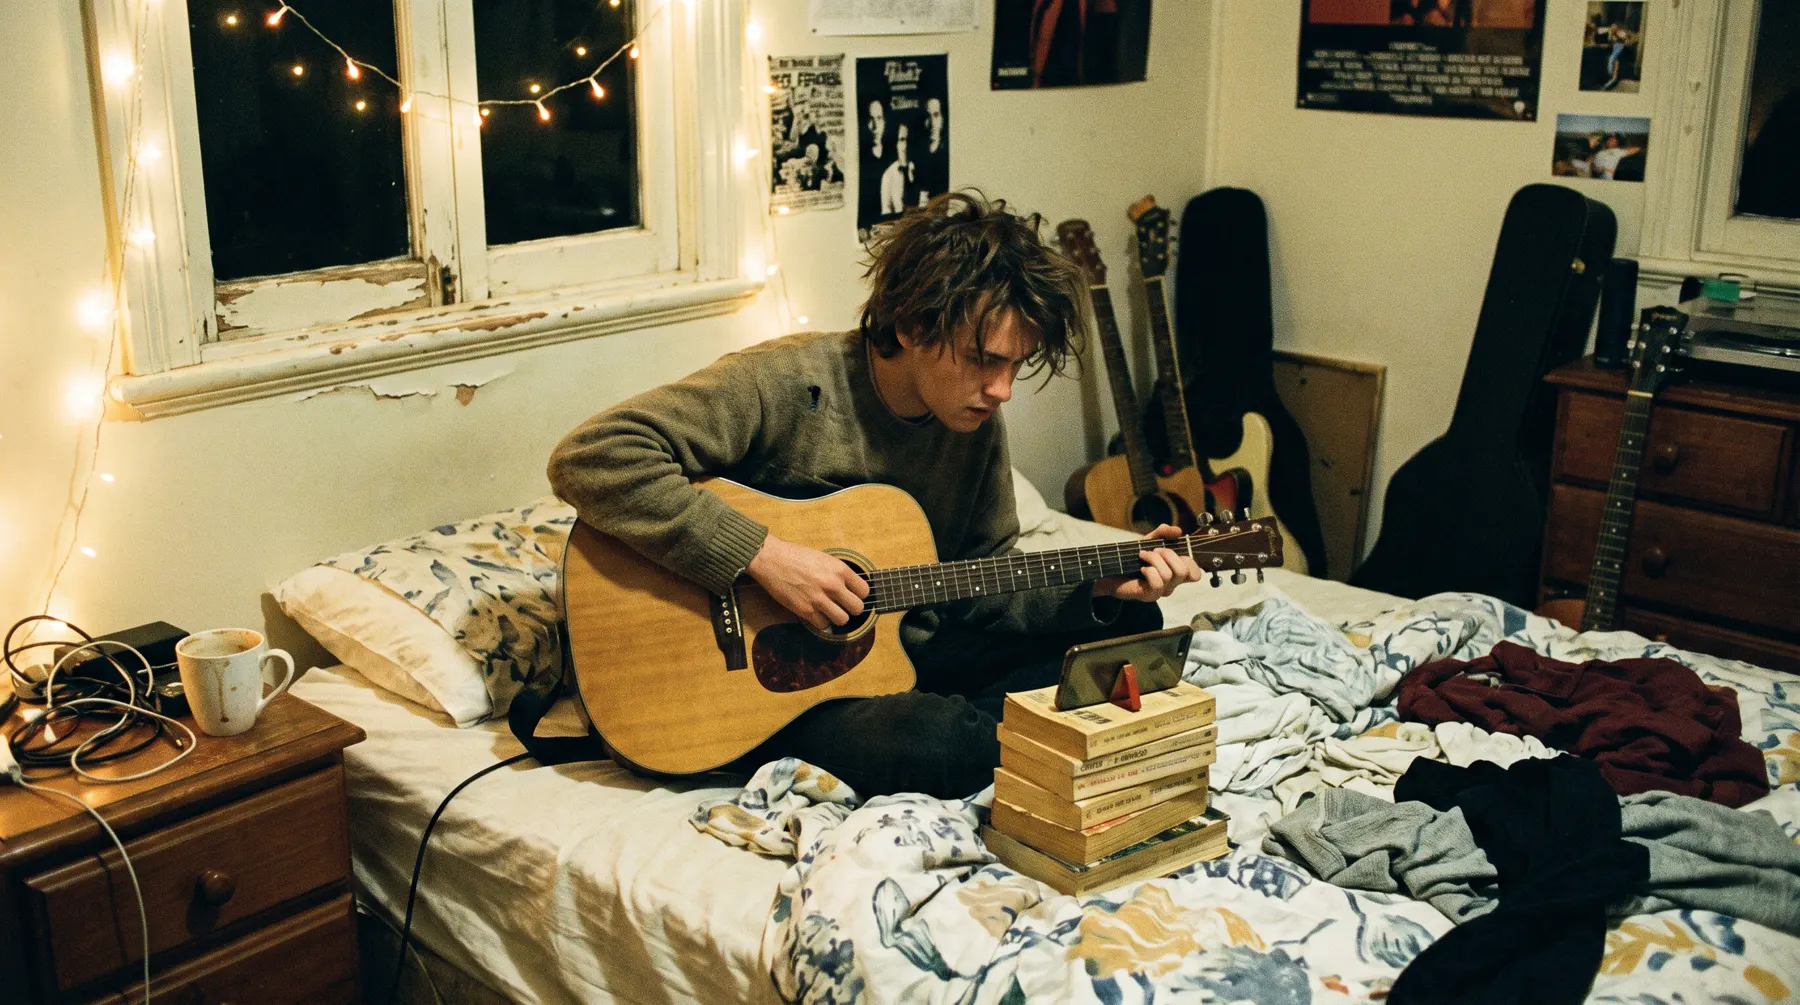
Artists, DJs, venues, nights and local businesses. One 30-second clip, five photos, your gigs on the register, and your name on the wall. Free, forever.
Your free profile is a little shopfront for your music: one 30-second clip, up to five photos, your links, your gigs on the register and your name on the wall. Artists, DJs, venues, nights and local businesses can all have one. No catch, no upsell, no lock-in.
Think of it as the page someone lands on after they've heard your name once. A booker, a host looking for a DJ, a fan who caught your support slot. They'll give it about ten seconds. The job of your profile is to make those ten seconds count.
Spotify's own advice for artist bios holds up anywhere: match the tone to the kind of artist you are, tell a bit of your story, credit the people you make music with, and keep a corner free for news that changes [1]. They also warn against inside jokes and references so local nobody outside your suburb gets them [1]. A Brisbane nod is great. A joke only your drummer understands is not.
Write it yourself. Spotify points out that if you don't write a bio there, one may be pulled in from a third party, and "this is your story, you should tell it" [1]. Same energy here.
Five photos sounds like a lot until you try to choose. Spotify's image guidelines are a handy checklist even off their platform: no text, advertising or busy backgrounds, nothing that infringes someone's copyright or trade marks, and no images of people who haven't agreed to be posted [2]. They also ask for decent resolution, at least 750 x 750 px for a profile picture [2]. Start there and your photos will look sharp almost anywhere.
Phone photos are completely fine. Good light beats a good camera every time.
Lead with the best bit. For most songs that's the chorus or the hook, not the slow intro. If you're a DJ, pick a stretch that shows your blend, not a single drop. Live footage often beats a polished clip because it proves you can do it in a room.
Only upload things that are yours or that you've got permission to use, and that includes the song playing under your clip. A video of you dancing to someone else's hit isn't your music, so it can't go up.
A profile that was last touched in March reads like a band that broke up in March. Add every gig to the register, swap the clip when you've got a better one, and update your news line each release. Every profile and new gig gets a human check before it goes public, so leave a little time for that.
Your email stays private. We only share it when a host picks you on "I need a DJ". Want out? Hit "Hide my profile" or email us and we'll delete it.
A smart link is one web address that sends people to everywhere you live online. Instead of a bio that says "Spotify in comments, Bandcamp in highlights, ask me for SoundCloud", you give everyone one link and let them pick their app.
Your free profile comes with one. Once you save your profile you get a link page at our site with your name on the end. It shows your links (Instagram, SoundCloud, your site, one per line) and your next or latest release with its date. Pop it in your Instagram bio, your email signature and the bottom of every poster.
A pre-save lets a fan say "add this to my library the second it comes out" before release day. On Spotify, the official version lives on Countdown Pages: fans can pre-save, preview the tracklist and follow a countdown, and when the release goes live, pre-savers get a notification and the release lands in their library [1].
Honest bit: Countdown Pages aren't for everyone yet. Spotify says you need at least 5,000 monthly active listeners, and only new, original albums and EPs qualify, not singles [1]. The option appears within 72 hours of your distributor delivering the release details [1]. If you're not there yet, many distributors offer their own pre-save links. Check what yours offers, then paste that link into your link page.
Start your link page the day you lock a release date, not the day before. Two dates matter on Spotify. Editors ask you to deliver music and pitch at least 7 days before release, and meeting that deadline is what gets the song onto your followers' Release Radar [2]. Pitching doesn't guarantee a playlist [2], and nobody can promise you one, us included. But missing the window means the door is shut before you knock.
Your art, printed to order, for what it costs us plus 5% to cover misprints. That's it. We check every design before anything prints. Upload a PNG, JPG or WebP under 8 MB, at print size if you've got it, choose your items and send it for an art check.
We've done the hard bit. We just want you to be completely clear on pricing.
Say a shirt costs us A$20 to print and post. Add 5% (A$1) and you pay A$21. If you sell it at a gig for A$35, you keep A$14 per shirt before any costs on your side. The A$20 is a made-up example to show the maths. You'll see the real price before anything prints.
Most print problems start with the file. A helpful Australian printer guide recommends aiming for 300 DPI (dots per inch) at the actual size you want printed, and notes that changing the DPI label alone doesn't add detail [1]. Avoid screenshots, social media downloads and heavily compressed images, and don't just upscale a low-quality logo [1].
Quick maths for a front print about 28 cm wide: 28 cm is about 11 inches, and 11 x 300 = 3,300 pixels wide. If your file is 1,000 pixels wide, it's going to print fuzzy.
Screens make colour with light (RGB). Printers make colour with ink (often CMYK). The guide we checked says to use RGB or CMYK depending on the printer, and warns that bright screen colours may print more muted [1]. If your brand has exact colours, note the Pantone (PMS) codes [1]. Neon pink on your phone may come out as a polite pink on cotton, so pick colours that still work a bit softer. We'll flag anything at the art check.